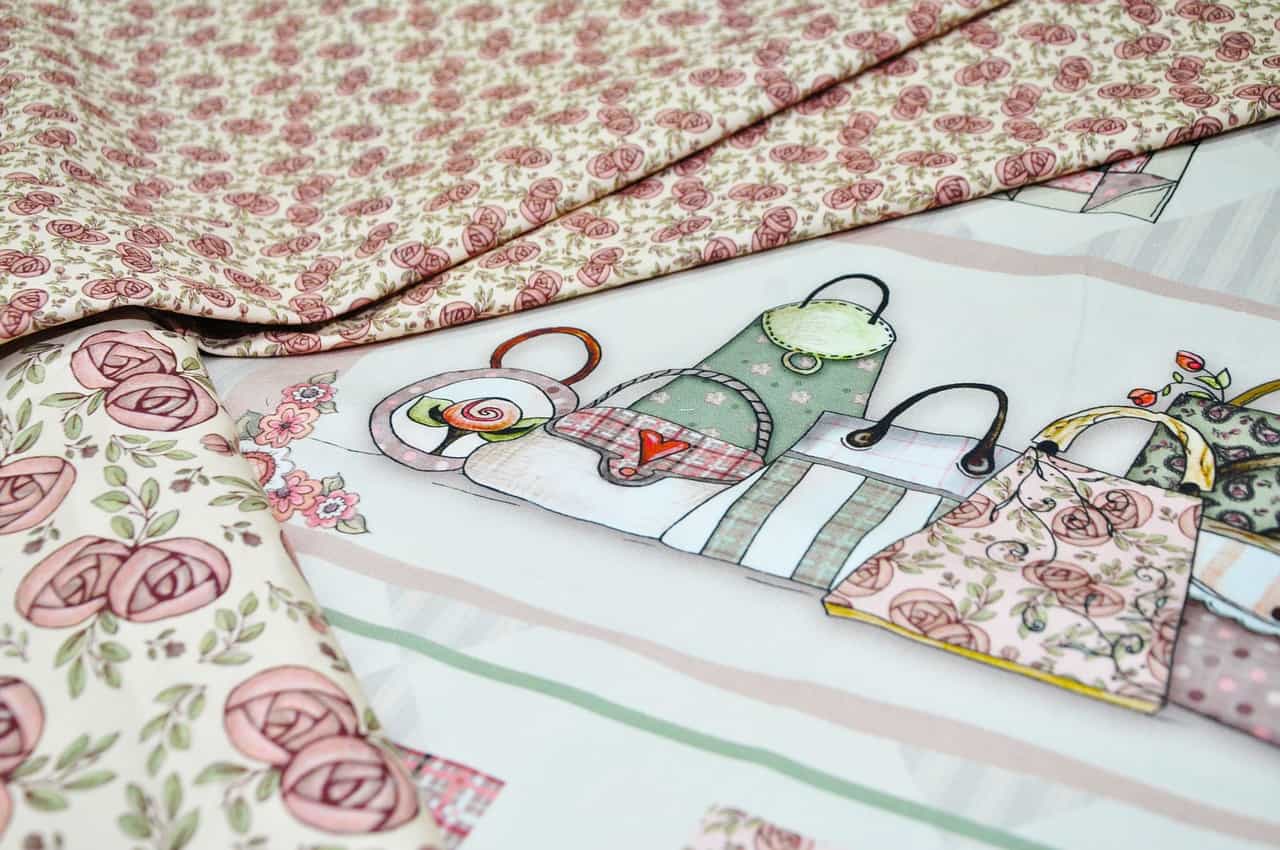
I love to quilt…it’s such a rewarding feeling to be able to have fun playing around with fabrics while letting your creative juices flow.
And as a result creating an awesome quilt that can be cherished and enjoyed for years to come!
I’ve been blessed to have a fairly large sewing studio where I can design, create and sew my quilts.
An incredibly worthwhile addition for a quilt studio is a design wall.
What is a design wall?
A design wall is a vertical space on a wall used to position and view fabric choices to see how they might appear in quilt blocks or the layout of a quilt.
These design walls are usually covered with some sort of “sticky” fabric so the quilt blocks or fabrics adhere to the design wall.
Everyone who quilts or sews has a different space they can call their “sewing/quilting studio”.
Having different sized spaces will determine what kind of design wall would be best for your studio.
I’d like to share with you several different ideas for design walls and their uses so you can find one that works for you.
What Is A Design Wall
What is a design wall?
As a wonderful addition to any sewing room, a quilting design wall is a vertical blank space on a wall where you can preview or audition your quilt blocks.
It’s also a place to view how your different fabric choices play together.
It gives you the opportunity to preview all your quiltmaking steps from your choices of fabric all the way to the layout of your finished blocks.
Many times I’ve used the floor to see how my quilt layout is going to look only to have a couple of kitties decide its the perfect place to run and play.
Now the quilt blocks or rows are all mixed up and I had to start over.
Having a place up off the floor helps prevent these mix ups from happening and can also save your back and knees!
By having a vertical place to lay out your fabrics you have chosen for your quilt, it can help you visualize how they might look in a quilt.
It’s so much easier to change a fabric that you don’t think will work before you start cutting.
Maybe you have already cut some pieces for your blocks but just aren’t sure you will like it.
A design wall gives you the opportunity to see how it will look before you have a lot made and then were to decide you really didn’t like the look.
I love making scrappy quilts!
A design wall is a wonderful tool for assembling scrappy quilts.
Since we use scraps of fabric to make these quilts the wall gives you an overall view of how the quilt will look as you rearrange the shapes to create the perfect layout.
Having a design wall if you can find the place for it is such a valuable asset to your sewing space!
What Is A Quilt Design Wall Made Of
A design wall is made of any kind of material that ‘sticks’ to fabric so using pins don’t need to be used to hold up your work on the wall.
Being able to position your quilt pieces, small patchwork, finished quilt blocks and fabric choices without the use of pins makes it so much easier to move things around as you preview your quilt in progress.
A quilt design wall can be as simple as tacking up a large piece of flannel, low-loft batting or felt to a flat wall surface in your sewing room.
Any ‘sticky’ material you use for the design wall works best when they are of neutral colors such as white, beige, ivory or light grey as they are less likely to detract from the quilt.
Large flannel sheets work really well for design walls.
Choose the size according to the wall area you have to put it on and attach it to the wall.
Depending on where you can find flannel sheets they can sometimes be less expensive than purchasing flannel yardage.
Using felt is another great choice with it’s wonderful sticktuitiveness.
Remember using felt boards when in school?
Fabrics will stick pretty well on felt and it’s inexpensive and easy to work with to make a design wall.
Flannel Backed Vinyl Tablecloth
I’ve even used a flannel backed vinyl tablecloth attached to the wall.
It works pretty well with the flannel side being used to hold the quilt pieces.
Vinyl tablecloths are inexpensive for using either as a portable or permanent design wall.
Simply attach the tablecloth to a wall along it’s top and bottom edges in several places with the flannel side out.
Attaching grommets all along the top edge would make it easy to hang it on nails on the wall, making it very easy to take down when not needed until the next time you use it.
When not in use it’s easy to remove the tablecloth folding or rolling it up for storage.
It could also be hung on a hanger.
It’s even possible to leave your work on the tablecloth rolled up inside for when you can get back to your quilting project.
Best Batting For Design Wall
Basically any type of low-loft 100% cotton batting will work great for a design wall.
Cotton batting has a good ‘sticky’ grip that will hold quilt blocks and pieces in place very nicely.
Cotton batting is great since its a neutral color so it won’t be competing with the different fabrics you will be previewing on the design wall.
That said, batting does come in black.
A black batting would not be recommended though as it will show every piece of thread, becoming quite ugly really fast.
How To Make A Design Wall
It’s pretty easy to make a design wall and there are many ways of doing it.
As we have already discussed, you can simply hang up a flannel backed vinyl tablecloth.
Command strips make it easy to attach it to the wall and not damage the wall.
Another simple method would be to hang a large piece of 100% cotton batting to the wall using command strips.
If you want it to be a little more sturdy, cover foam board or thin composite board with either 100% cotton batting, neutral colored flannel or felt.
If you like the idea of also using pins to hold your fabric pieces onto the design wall then using foam board would be a great choice.
It’s lightweight and it’s easy to get the straight or push pins into and out of the board.
You can make a trifold design wall using a trifold cardboard display that can be purchased from places like Staples, Office Depot or most office supply stores.
Again you can use any of the ‘sticky’ fabrics you prefer, covering one side and securing to the back with packaging tape, mitering the corners.
If you do decide to use batting it will be a little harder to fold for storage.
An old folding cardboard cutting board (the one used with scissors and not rotary cutters) covered with flannel makes a light weight easy to carry design wall.
Cork bulletin boards come in different sizes and covered with flannel or thin batting would make nice design walls.
The cork works well if you decide to pin your work to the wall.
Gridded Flannel Design Wall
A handy design wall would be one with special flannel that is printed with grid lines.
The grid lines can help to keep pieces properly aligned as you position them.
Amazon carries a flannel fabric with gridwork made by Robert Kaufman if you think you would like to have grids to line up your fabric pieces and blocks.
You could also use a fine sharpie and a yard stick and draw you own lines onto purchased flannel if you prefer.
Portable Quilt Design Wall
If space or the lack of space prohibits you from having a design wall up all the time that’s more permanent, it’s nice to have a portable quilt design wall.
Portable design walls are also very handy for taking to quilting classes or retreats.
Fons & Porter makes an Instant Design Wall, 60 x 72-Inch (link to read review on Amazon) that is easy to put up and take down when not in use.
It has a flannel front with gridded vinyl backing.
When hanging up it’s easy to see the grid lines through the flannel.
How To Make A PVC Quilt Design Wall
You can make a design wall that’s more of a portable one by using PVC pipe and elbows.
Cut the pipe into lengths for the size that you want.
Put the PVC pipe pieces together into a frame using the elbows at each corner.
Purchase some snap on clamps that look like sections of pipe to attach the batting, felt or flannel to the PVC frame.
These clamps will hold the batting on nicely but are easy to remove.
You could also make pockets on each side/edge of the material you are using by turning to the back and sewing, making a pocket.
Slide the PVC pipes into the pockets and join the PVC pipes at the corners with the PVC elbows.
A design wall made of PVC pipe is easy to take apart when not in use as long as you don’t glue the pieces together.
How To Use A Quilt Design Wall
Being able to preview your work can be very helpful to see how your quilt will look.
Having a vertical viewing area will allow you to be able to step back from your work and see it better from a distance.
Having this distance helps you to detect any layout errors you might have in your quilt design.
The ‘sticky’ fabric makes it a breeze to be able to quickly shift things around, experimenting with new arrangements and ideas.
Arranging the different fabric choices, finished quilt blocks, small pieces for patchwork and even rows of quilt blocks is so easy for previewing during the quiltmaking process.
I especially love using a design wall when making scrappy quilts.
By being able to preview my scraps of fabric positions before I get it all sewn together is helpful so there’s not as great a chance of the same fabrics landing next to each other.
Making a quilt with multiple quilt block designs is another great reason to have a design wall to be able to arrange the blocks in just the right layout.
What Is A Quilting Board
A quilt design board is sometimes also called a quilting board.
But there is also a small version of a design wall called a mini quilting or mini design board that is used to arrange your small pieces of fabric that fit together to form the quilt blocks or patterns.
They are an asset to use for keeping your quilt block fabric pieces just where you want them at your sewing machine.
And transporting them over to the ironing board or cutting area.
It can get a little confusing sometimes as to how your block pieces were supposed to go together when moving between your cutting area, ironing board and sewing machine and you end up sewing the block together wrong.
I have definitely done that.
With a mini quilting or design board it makes it so easy to move around and not get things mixed up.
It’s easy to lose the order of things when moving from sewing machine to cutting board or ironing board but a mini design board prevents that from happening!
It’s easy to make a mini quilting or design board.
Using a piece of foam core cut to the size you would like such as 10″ x 10″, cover it with cotton batting or flannel a couple inches larger all around, turning the extra to the back and securing it.
If foam core is unavailable you might try using a blank canvas frame from a dollar store or other crafting store instead.
Cover it with cotton batting or flannel and you have a nice sturdy mini design board.
You could make several of these mini design boards so you have one for each of the different quilt blocks for the quilt you are making.
These are so handy to have!